Connecting to Sharepoint lists
When you start LightSwitch you’re likely to see a development environment you’re already used to: Visual Studio. The IDE starts with the LightSwitch designer which gives you the possibility to either create a new table or to connect to an external data source. You may use a SQL Server database, a Sharepoint list or WCF RIA Services.
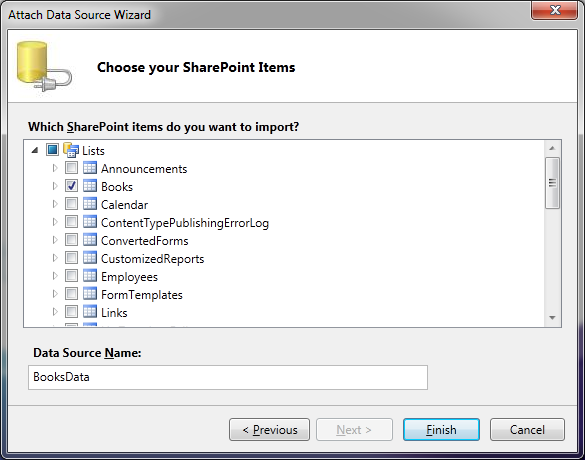
After selecting the required lists you can finish the wizard. LightSwitch generates all the needed resources to access the list data. If you are interested, have a look in the file system after generation has finished. There you’ll find a lot of files. For data retrieval and communication with Sharepoint binary XML with WCF RIA Services is used.
Building an application
In the solution explorer of the newly generated solution you see a logical view of the resources. 
The logical view displays items to open the according designers either for editing the data sources or the visual screens used in the final application. You can switch to file view if you need to directly manipulate a file.
A click on the Books1 element opens the data source designer. The designer displays the data source in a table layout showing you all the fields of the source. In addition, it shows the dependencies to other source tables. At the top of the designer is a tool bar with possible actions. Here you can add new relationships, queries or user interface screens. In order to display the data in the application we’ll add a new screen. Here you have the choice between several predefined view templates:

Add field validation
In the sample list each book has an ISBN field. This field is of type string with a max length of 13. These are the restrictions you can easily define inside the Sharepoint list. But there are other rules for a valid ISBN number. It needs to have a special appearance and the last digit is a checksum which needs to be computed. Doing these kinds of validation directly inside the list is possible but rather difficult to achieve. Why not doing it in our LightSwitch application? We just need to open the data source designer for our books list. In the tool bar at the top you find a drop down button named ‘Write code’. When you select the appropriate field in the data source table and open the drop down you should see an entry that contains the field name plus underscore plus ‘Validate’ (e.g. ISBN10_Validate). Clicking on that entry opens up a code file with a newly generated method stub for validating the field:partial void ISBN10_Validate(EntityValidationResultsBuilder results)
{
}
This method will be called whenever the user changes the field inside the user interface and leaves the according field. As a parameter you get an EntityValidationResultsBuilder. This class provides several methods to add error messages that will be shown to the user after validation. The implementation of the method is intentionally left blank for brevity.
In the user interface, if the user enters an invalid ISBN, a warning will be shown with the error message you provide in the validation method:

Sometimes you need a computed field in your data source that you want to display in the user interface. As mentioned earlier the books list contains the standard Sharepoint list fields ‘created by’ and ‘modified by’. In the LightSwitch data source designer they are of type UserInformationList so that in the UI you will not see the actual name of the author of the list element. You only see if it is a person or a group but what you really need is the name. In order to achieve this you can add a computed property to the data source. In the sample it is called ‘Owner’. Again in the ‘Write code’ drop down you find a method for the computation of the newly added field. Within that method you get access to all other fields of the data source in order to compute the needed value. In this case I just used the ‘UserName’ property of the ‘created by’ field:
partial void Owner_Compute(ref string result)
{ // Set result to the desired field value
result = this.CreatedBy.UserName;}
You cannot set the value of the owner field directly. That’s why a reference to the value is given a parameter to the method.
In the screen you can now easily add the new field to the user interface and it will be displayed with the computed value when running the application.